After a LONG hot winter in Key Largo,
The Continuing adventures of the
STERLING LADY
continue....
1/29/2012
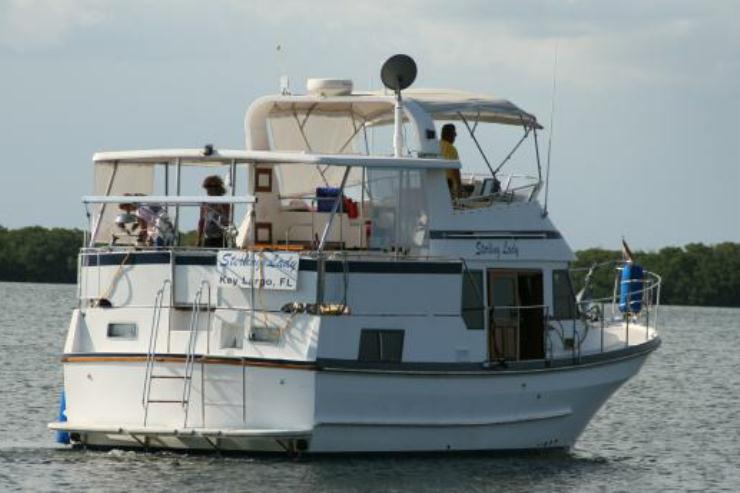
As I sit here, in winter in 80 degree Key Largo, Florida, the Sterling Lady is patiently waiting out the cold New York winter in a 50 degree heated shed at Winter Haven marina.
Looking back, because of the flooding caused by the hurricane up there, it was a good thing to leave the boat. We would have probably gotten stuck for a month between locks 2 and 3 on the Erie because of flood damage to the system.
But I have to tell ya, I don't think I will leave my boat up north again!
Boatless in Key Largo is not fun.
I miss her terribly!!
3/31/2012
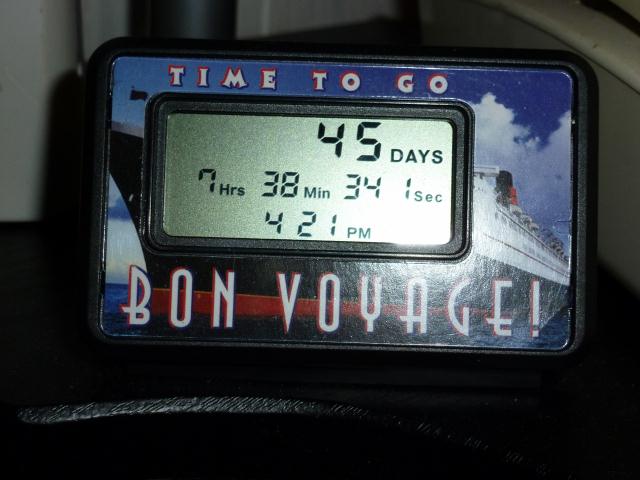
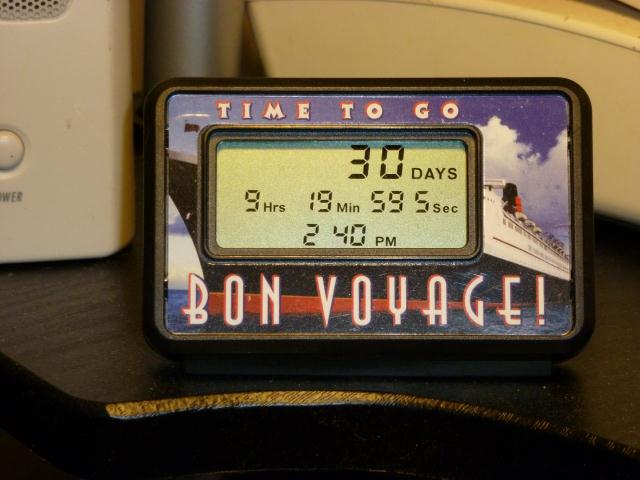
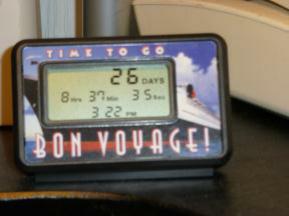
I made the mistake of buying this count down timer , about 2 months ago,set in on our May 15 departure date, and now daily look at it.
Torturous!
4/11/2012
Just 33 days to departure for time, So I am going to help my buddy Bill replace his starboard side 150 gallon fuel tank.
Since there has been a lot of discussion about this procedure, I thought I would document the process here , for those interested.
The boat is a 1981 Marine Trader tri cabin, single engine, the emphasis being a single engine, I can't imagine doing this job on a twin,, no room!
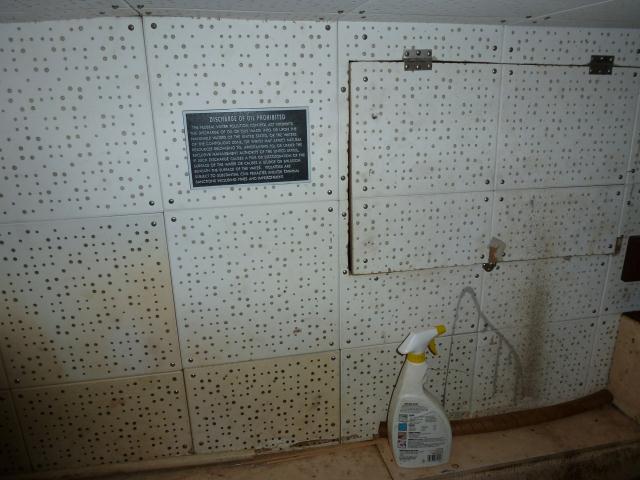
This is the before shot, of the wall bewteen the Engine and the Fuel tank.
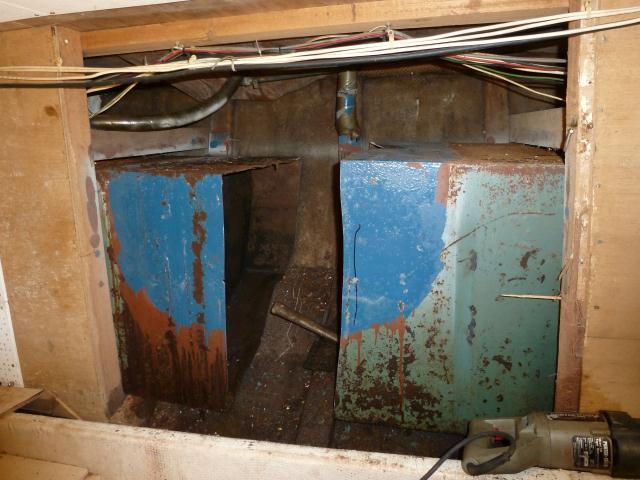
Day one, We pumped the fuel from the starboard tank to the port, then washed the tank with soapy water.,then we carefully removed the necessary white tiles, I suspect they are asbestos so don't cut them.
Then using a reciprocating saw,and jig saw , cut out the center section of the wall, and tanks.
Our first cut allowed us to insert a wooden dowel to locate the two baffles inside the tanks.
You hav to cut the tank into sections small enough to fit out the hatch and door, in this case about 16 inches.

The two baffles, one shown here, are tack welded in place, with a hole in the center, and on the top and bottom corners for flow.
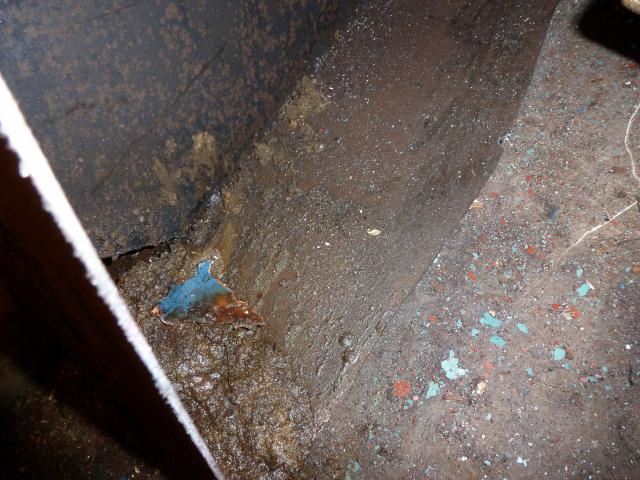
<---This is the dreaded bottom of a 31 year old fuel deteriating tank.
<-----Sludge and other unkown stuff
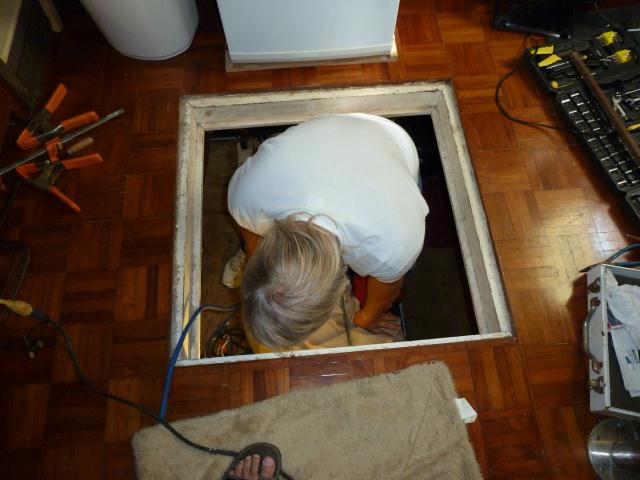
Where Billy is standing is where the cut tank sections have to come out.
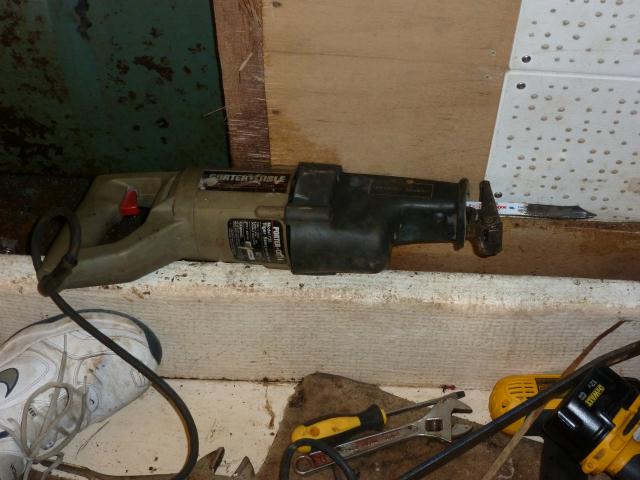
Make sure you have a GOOD recipricating saw, and lots of Blades. We used 6 blades for the job.
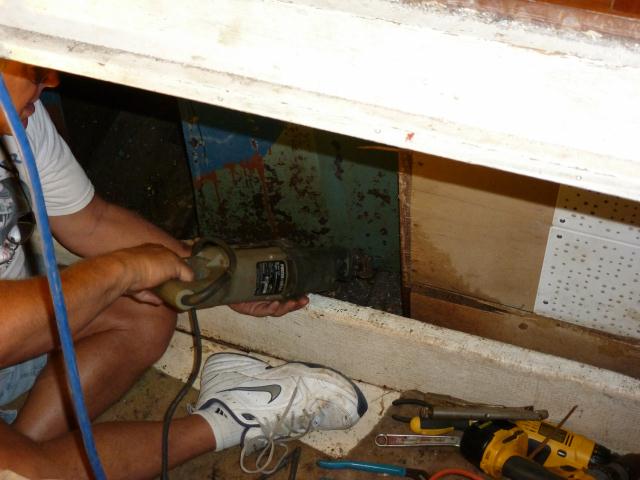
Cutting out the second section. Did I mention it's a messy job? But the metal on the sides and bottoms of the tanks were in real good shape. The tops were bad.
The saw made the work pretty easy.
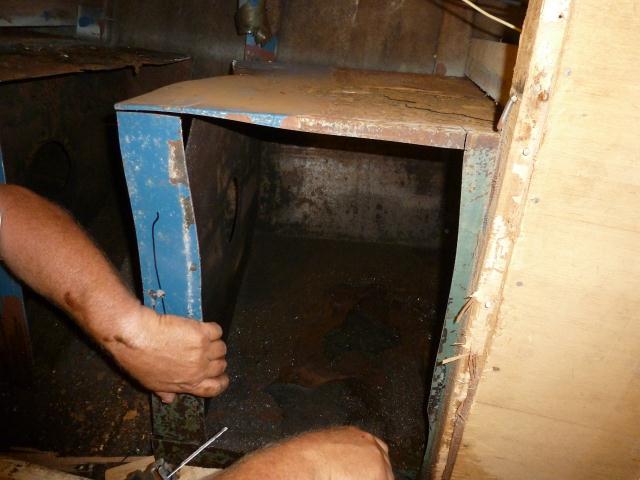
Cut a large hole in the side of the secound section, so we would have access to cut.
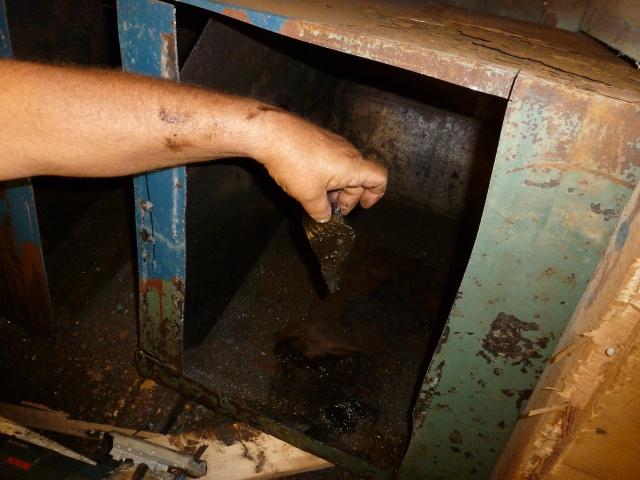
There was this un identifiable rubber type material in the bottom of the tanks? that was not sludge.
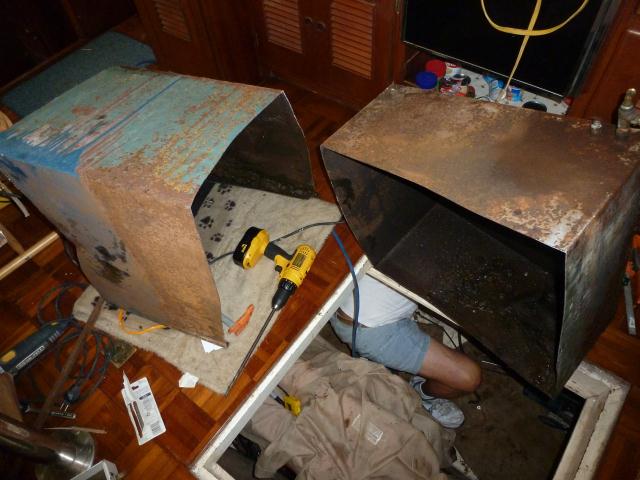
Sections #2 and #3 are out!
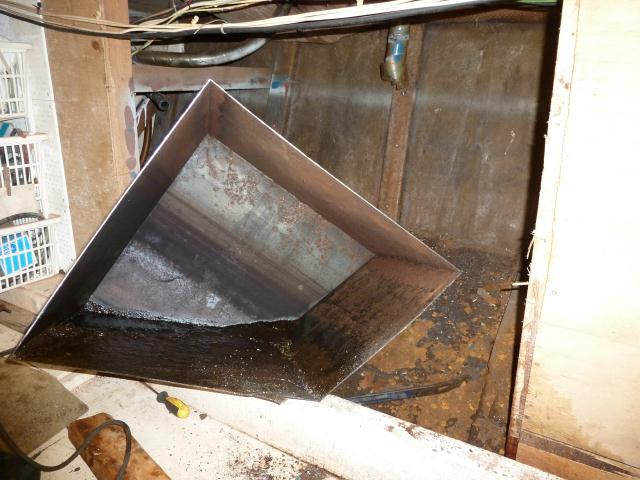
The last section is cut and out!!
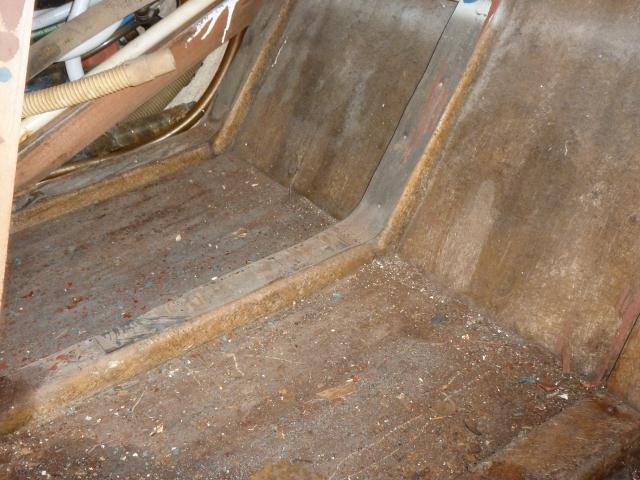
The empty fuel tank compartment.
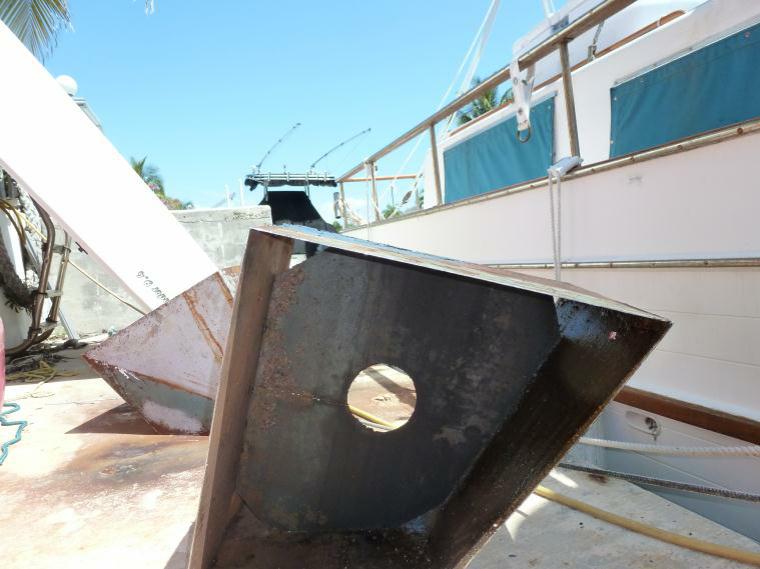
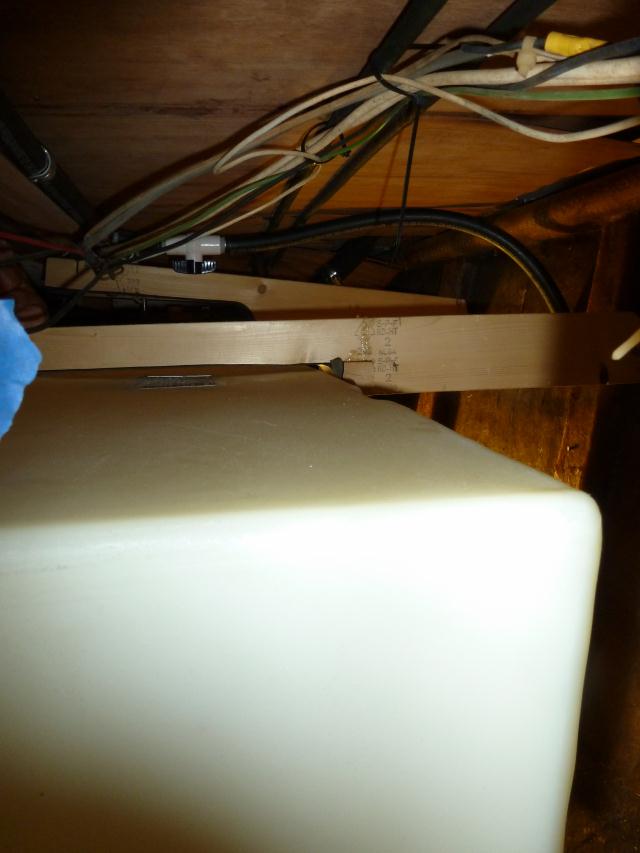
Here is a better shot of one of the two baffles in the tank.Notice the corners are open, and the center hole.
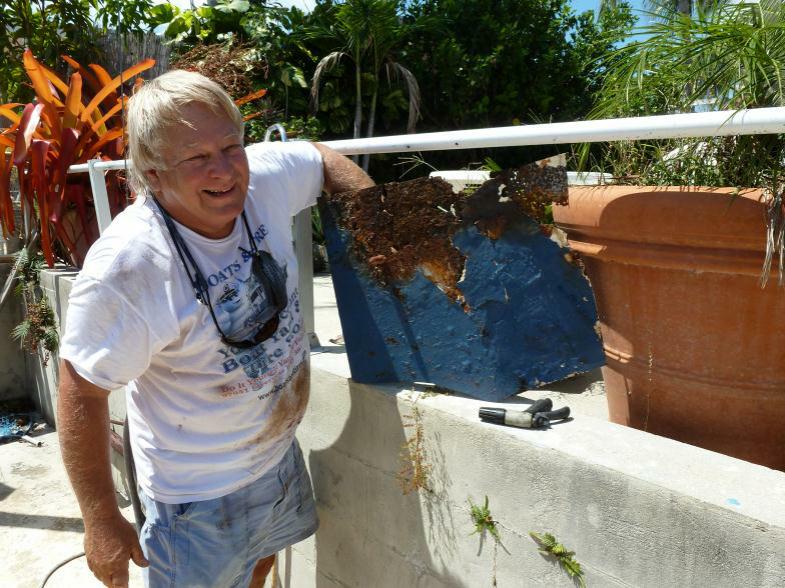
Here is the reason we cut out the tanks. The top was holed like a sponge, as you can see with Billy's finger sticking through one of the holes. A previous owner had tried to repair it with Marine Text, bad idea. Marine text does not flex, and does on stick because of it.
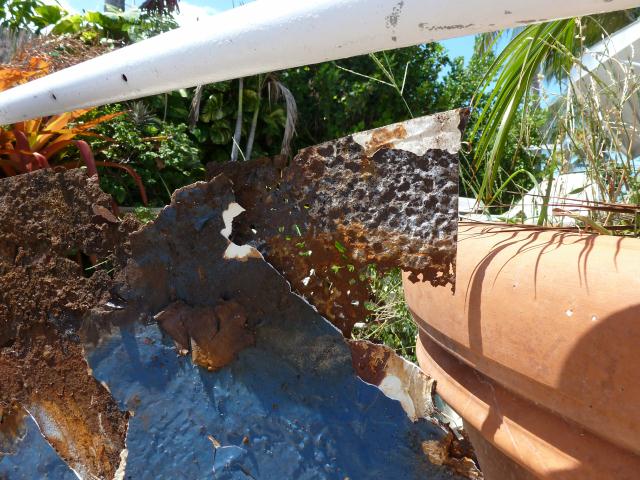
On this close up shots, you can see how badly rotted the tops of the tanks were.
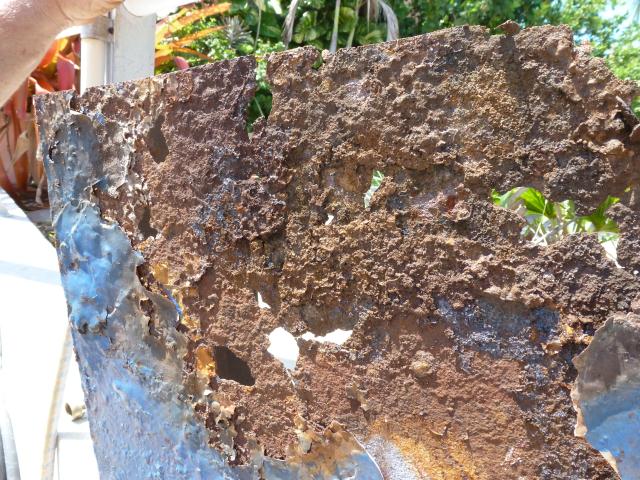
Pretty bad, but just the top was bad.
A summary so far, two 5 hour days, the tank is out.
Now we wait a week for the new tanks to come in. In the meantime, we will prep the tank area for the new tanks.
Stay tuned, More to come.
4/11/2011
West Called, the tanks are in, work continues tomorrow.
4/13/2012
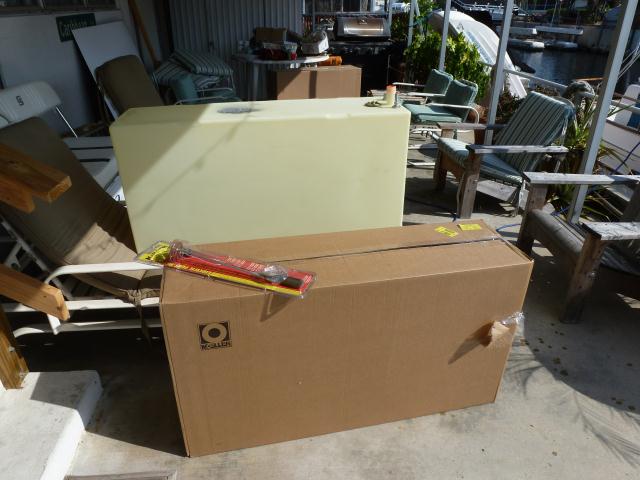
Here they are, two 50 gallon tanks, two diesel sending units.
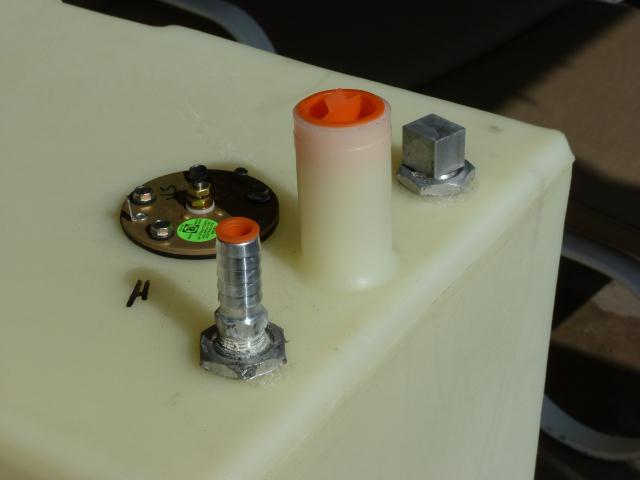
Each tank has a fill (center)a vent (left) a fuel line (right) and the wrong sending unit. This sending unit that comes with the tank is for gasoline.
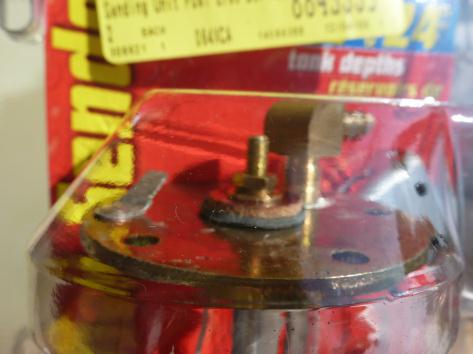
This is a blurry image of the diesel sending unit. The only difference is
The diesel return line fitting
<-----Diesel return fitting
Being on Keys Time, the owner Billy,will probably get in the bilge and clean out the tank area,,,probably.
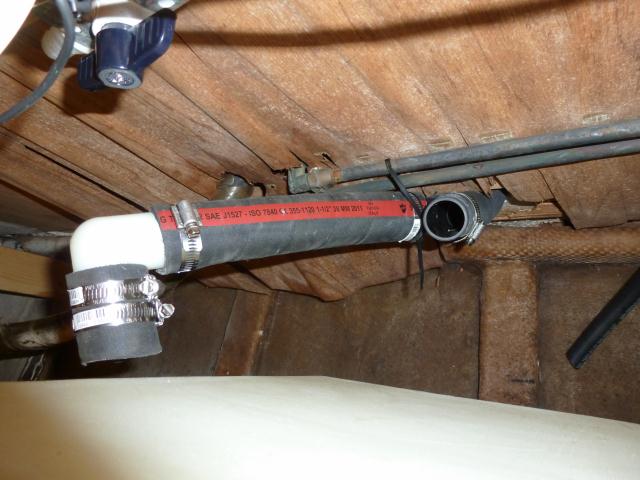
I will wear my safety sandals, just in case!
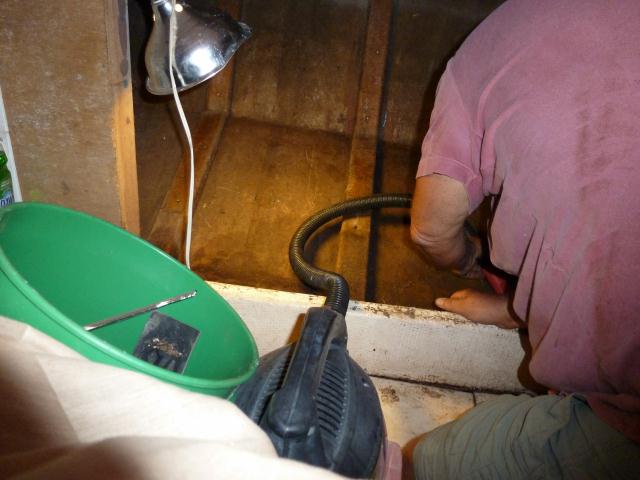
The Cleaning begins.
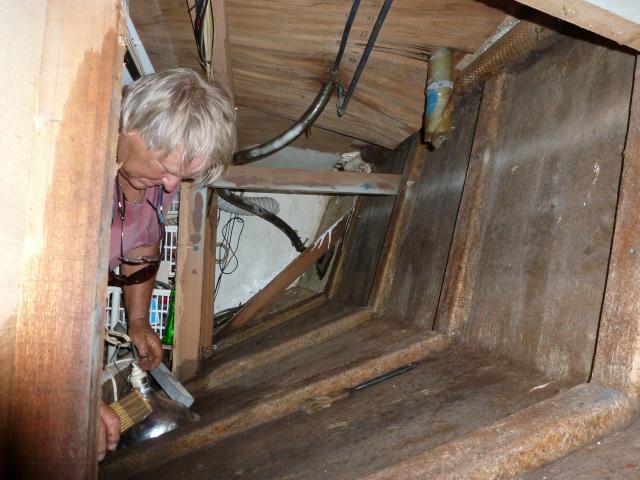
The space for the tanks is large.
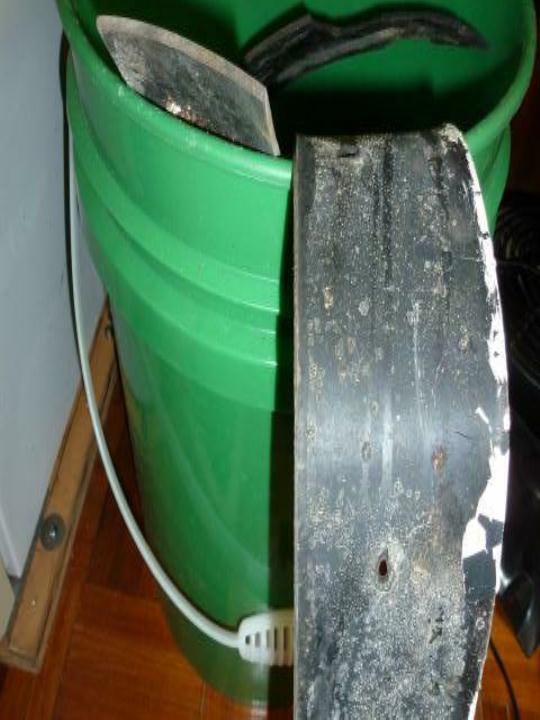
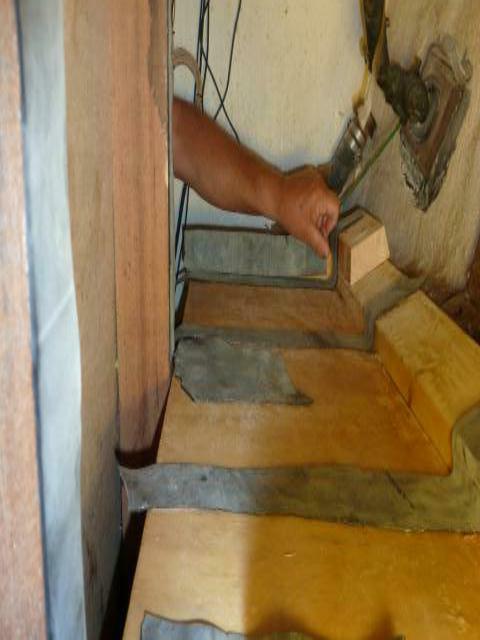
These are the rubber strips that where nailed to the stringers, to protect the tanks from abrasion. Nailed?Not good.We will 5200 them.
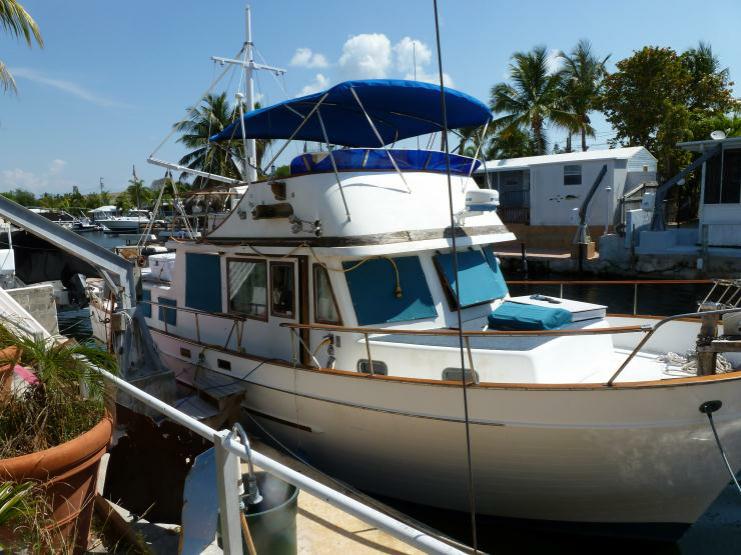
BTW, this is the MV "Bill's First Aid Kit", that is getting the new tanks. Bill and I removed the teak decks last year.
4/16/2012
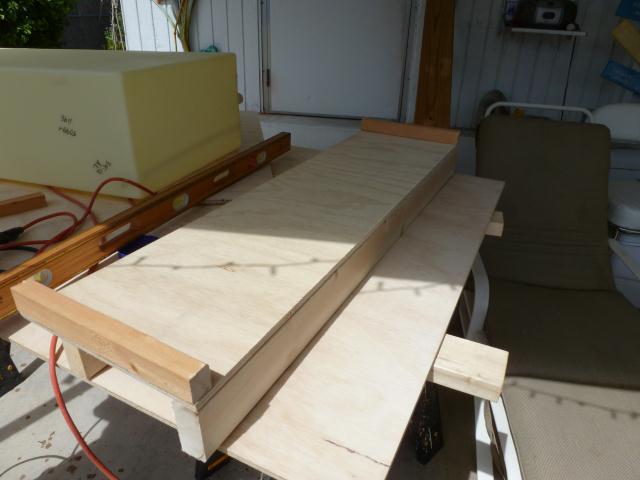
Today we measure, cut and put together two of these shelves for the mounting of the two fuel tanks.
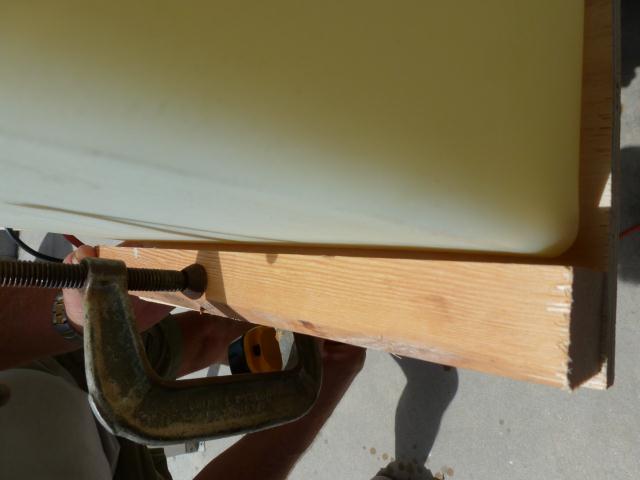
With poly tanks, you have to leave about 3% space to allow for the one time expansion you get when you first fill the tanks.
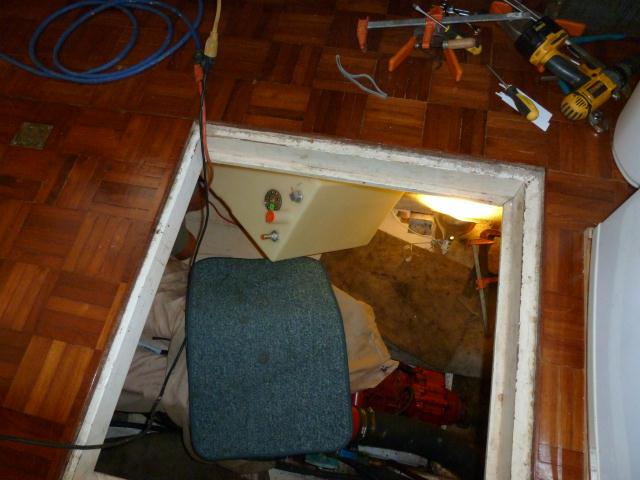
As a final check, we made sure the tanks would
A. Fit down thru the deck and ...
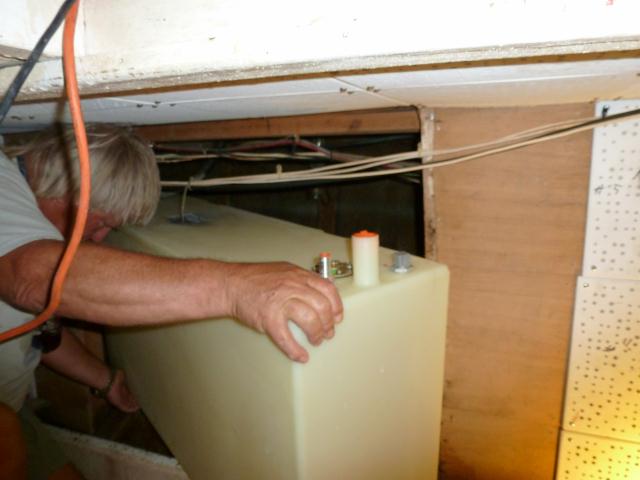
B. The tanks would fit in thru the whole we cut and......
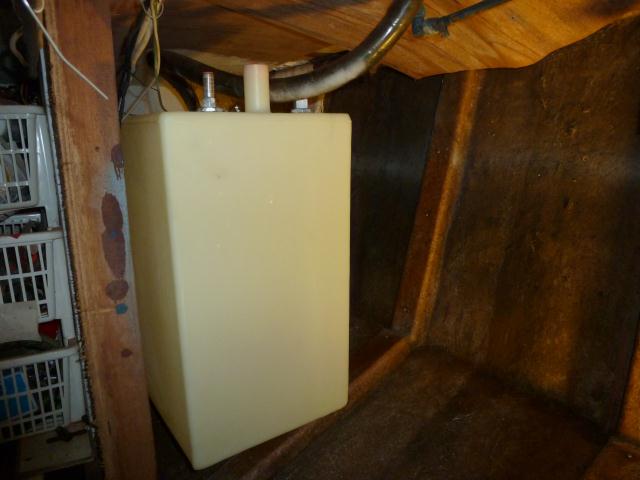
C. the tanks would actually fit in place. This allowed us to make final adjustments as to where we were going to place each tank.
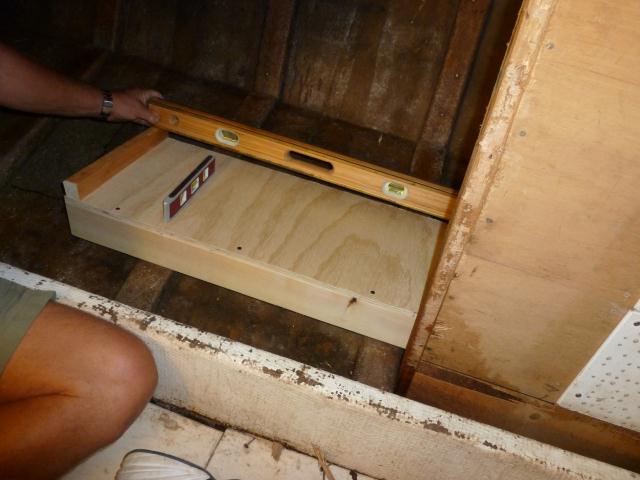
After removing the new tank to the Salon, we positioned and checked the new tank mounting platforms. Perfect. Well , perfect enough anyway.
You know there is no level on a boat, Level is a passing moment in time. Also there are NO 90 degree angles also. FWIW.
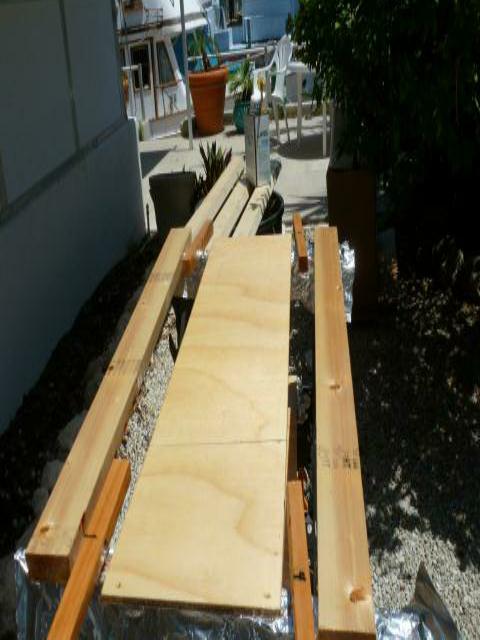
The two tank platforms were disassembled, and coated painted with two coats of West Systems Epoxy.
We will Screw and epoxy the parts back together, epoxy makes excellent glue!
4/17/2010
Today was one of those two steps forward, one step backwards , type of days.
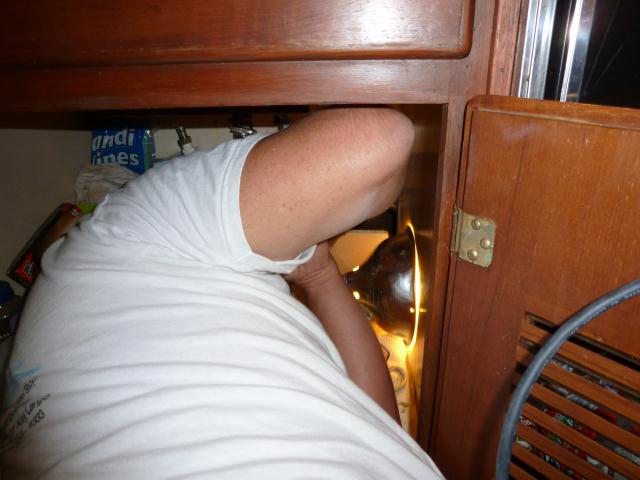
Had to cut an access hole in the back on the cabinet under the sink in order to get access to the fuel fill , and disconnect the old existing fill line.
As with just about every boat just, it's not doing the work, it's getting access to do the work!
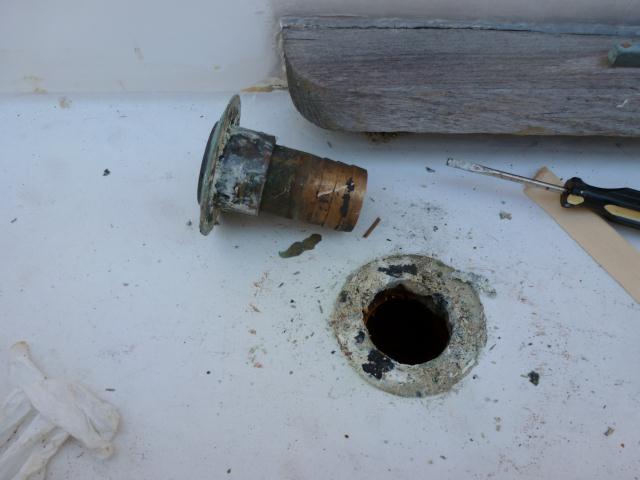
Two and a half hours later, we got the old hose off, an estimated 30 min. job.
Love the "old school" brass fuel fills!
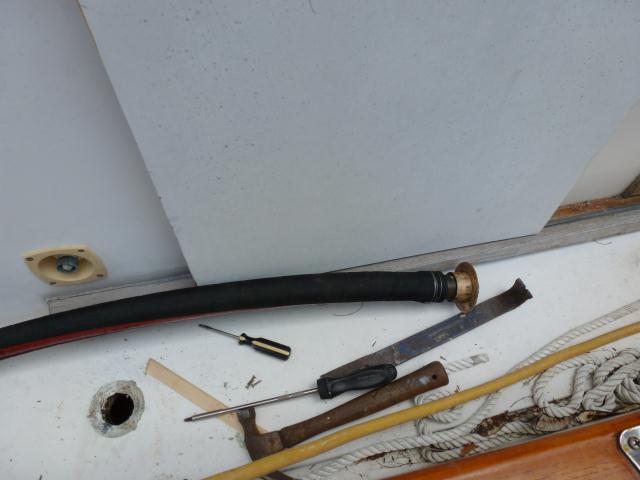
Using a heat gun, a vice, and two grown men, we forced the fuel hose on the Fuel fill.
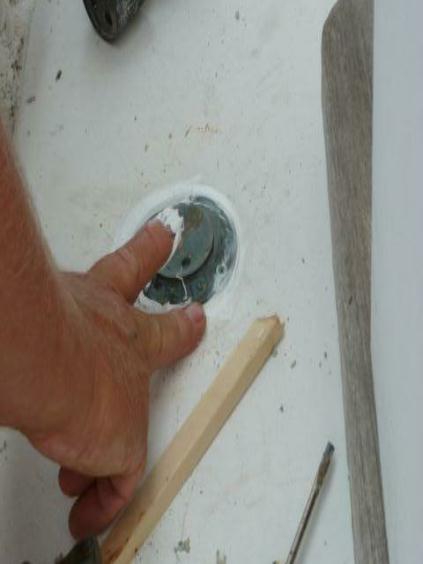
Using lots of 5200 and three screws, the fuel fill is back in place, new hose attached.
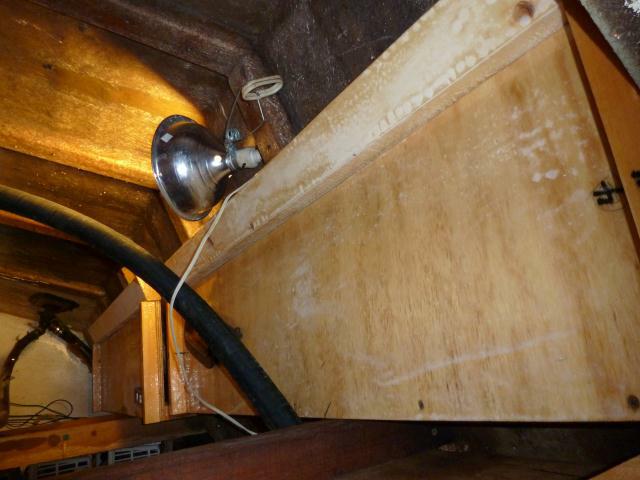
4/18/2012
Yesterday PM, we put the epoxied tank shelves back together, using counter sunk screws and epoxy as glue. This morning we put them in place.
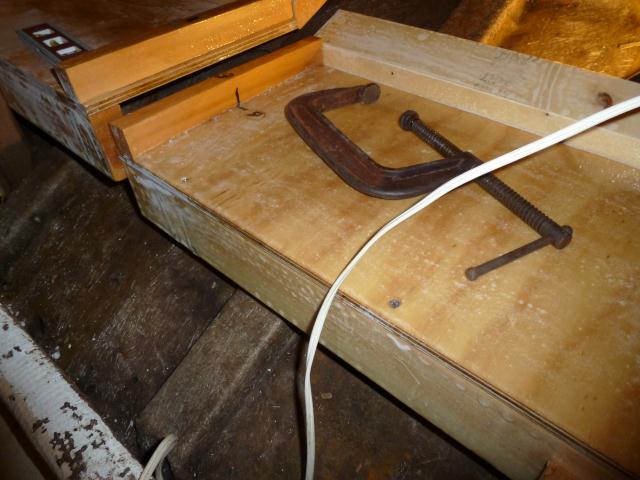
Setting the tank shelves to level, the forward shelve ended up higher than the aft, this is a result of the hull actually curing up as it goes forward.
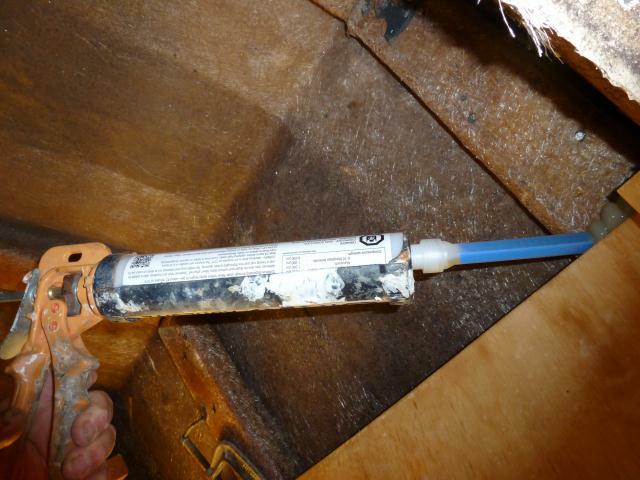
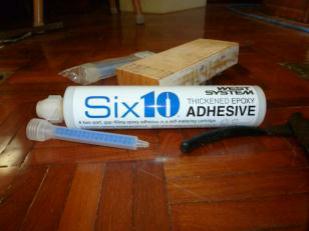
We screwed and epoxied the shelves to the side walls, and used Six 10 from west systems to attach the shelves to the stringers .
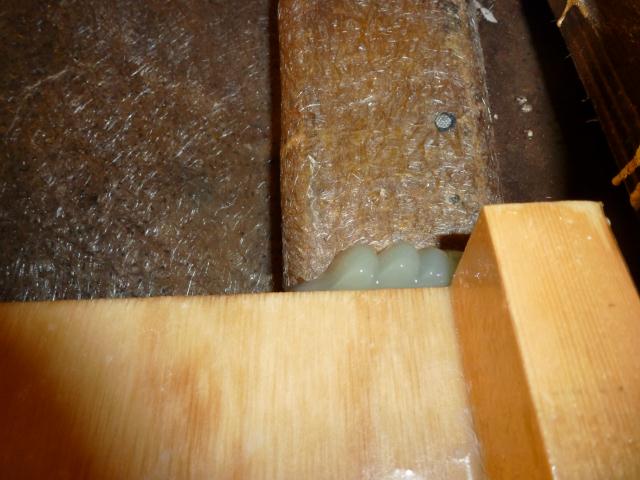
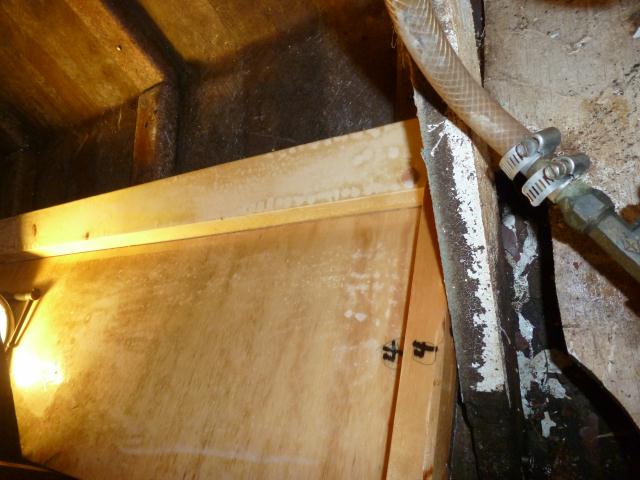
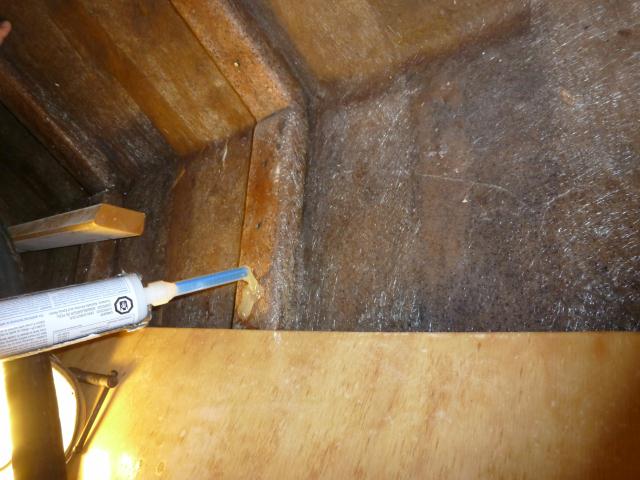
The backboard is epoxied inplace, for ever!
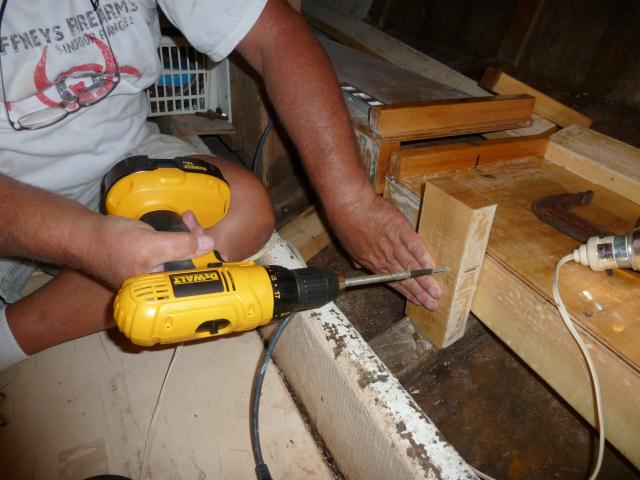
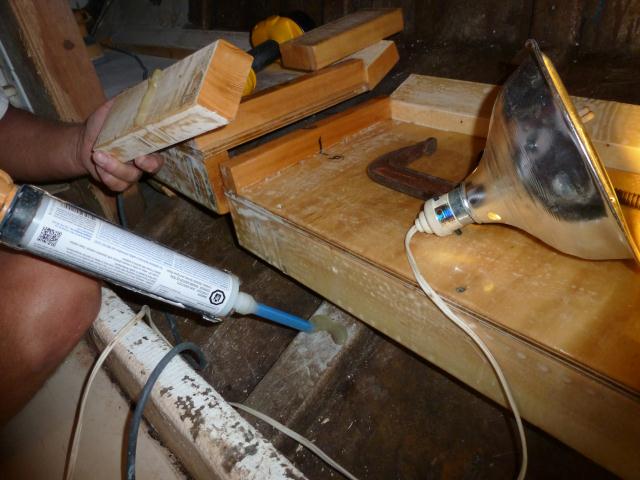
These tank shelves are VERY secure!
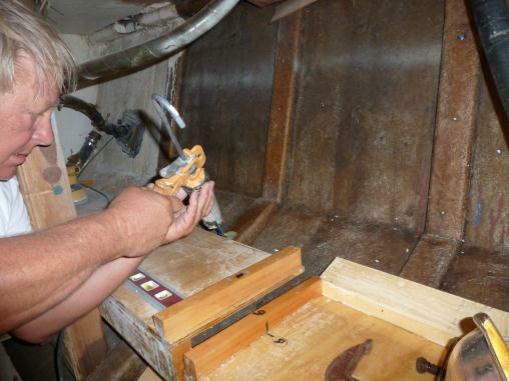
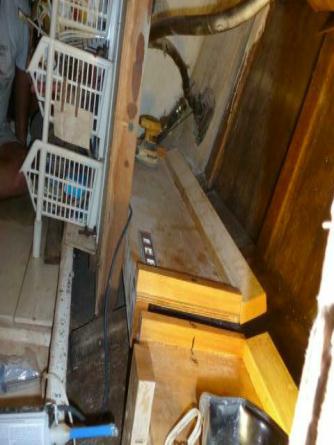
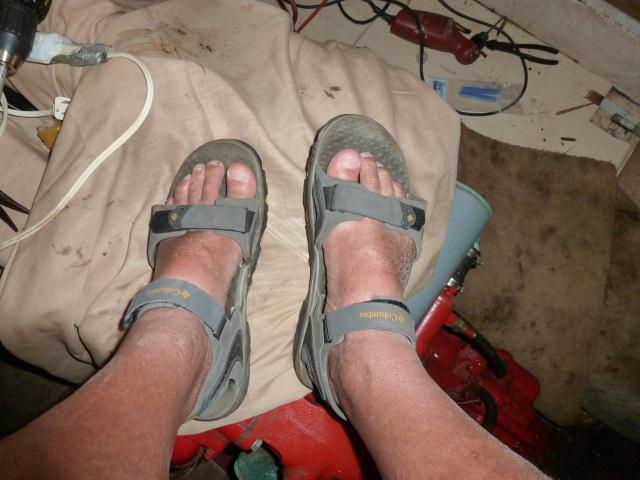
The tank shelves are secured inplace, the epoxy will be fully cured in 24 hours, so now it's miller time!
Actually, we probably won't continue till Tuesday, after all , we are on keys time ya know.
Some one asked about my safety sandals, well ,here they are.
4/24/2010
We are using the one deck fuel fill, with a small Y , to fill both tanks at the same time.
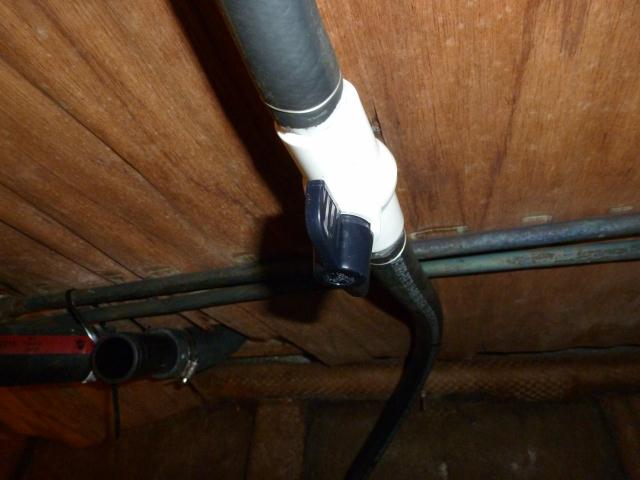
<---Controlling valve for each fuel tank vent to insure even filling.
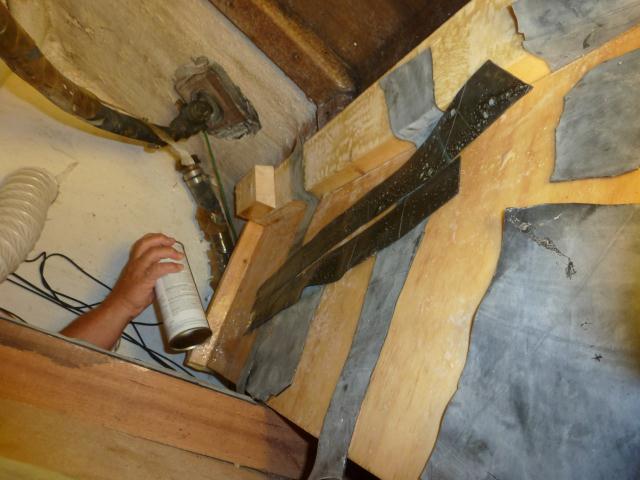
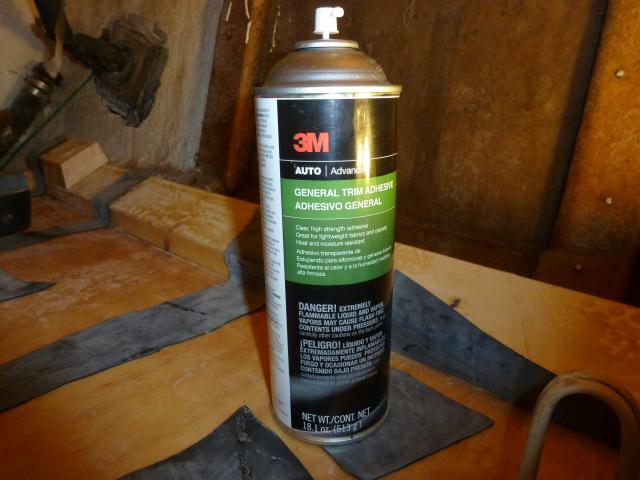
This is headliner glue from Napa, we sprayed it on the non powdered (outside) of the inner tube strips and to the deck of the tank shelves, let is set up a bit, and it stuck great.
We glued the inner tube strips on every possible abrasion point and the deck of the shelves
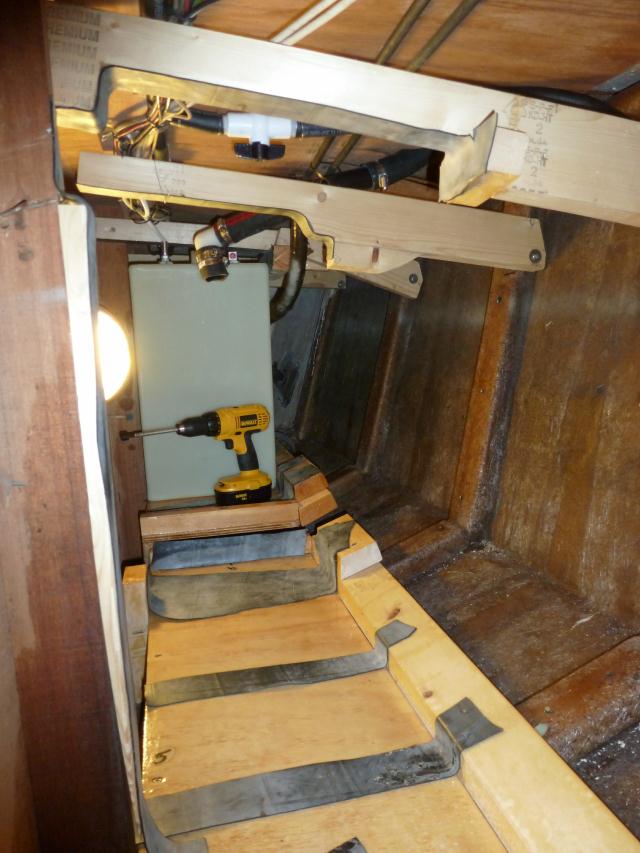
Sliding the forward tank in place, the aft shelf is ready for the tank also.
Note the braces for the top of the tanks, which are also rubber inner tube coated, and cut to fit.
Originally, Marine Trader had thru bolted the top tank braces thru the stingers, we will lag bolt them in and reinforce with epoxy from the tube.
Top braces being put into position.
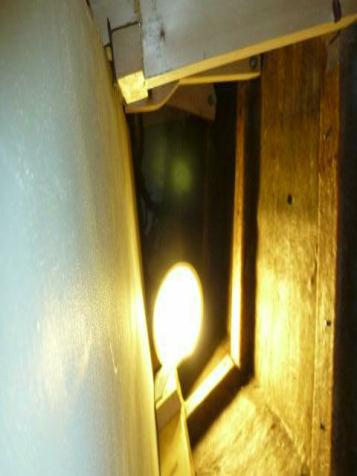
Looking forward, this is how much space is left between the new tanks and the hull. About 14 inches wide.-------->>>>
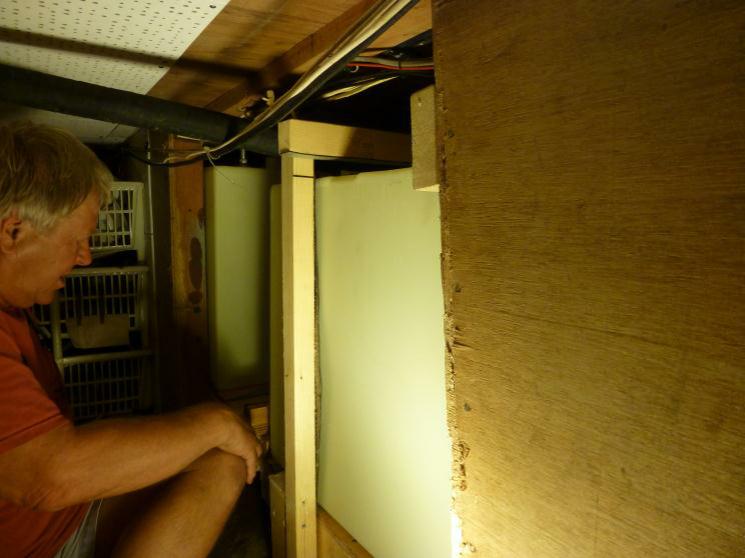
The tanks are in place, and the braces are all in!
Now the fun begins, two vents from the two tanks valved into one thru hull vent, two return lines, also on switch valves (tank one, tank two) and two valved fuel lines, plus two fuel gauges.
This is the part I can sit back and watch.
zz
and for those of you who know what this is.....
Now that we have Billys' Tank fixed, let get back to the cruising pages by